How to add a custom map to webflow with MapBox
title
text more text
1<!-- Mapbox Style -->
2<script src='https://api.mapbox.com/mapbox-gl-js/v2.9.1/mapbox-gl.js'></script>
3<link href='https://api.mapbox.com/mapbox-gl-js/v2.9.1/mapbox-gl.css' rel='stylesheet' />
4
5<style>
6  /* Popup styling */
7  .mapboxgl-popup-content {
8    color: black;
9    background-color: transparent !important;
10    padding: 0 !important;
11    border-radius: 0 !important;
12    overflow: auto;
13    margin-bottom: 0.5rem !important;
14  }
15  .mapboxgl-popup-tip { display: none !important; }
16
17  /* Custom marker styling */
18  .star {
19    position: absolute;
20    z-index: 555;
21    width: 1.5rem;
22    height: 1.5rem;
23    border-radius: 50%;
24    cursor: pointer;
25    background-color: #2CD8A1;
26  }
27  .star::after {
28    content: "";
29    position: absolute;
30    top: -0.625rem;
31    left: -0.625rem;
32    right: -0.625rem;
33    bottom: -0.625rem;
34    border: 0.2rem solid #2CD8A1;
35    border-radius: 50%;
36  }
37
38  .location.active { border-left-color: #2CD8A1; }
39
40  /* Hide Mapbox default controls */
41  .mapboxgl-ctrl { display: none !important; }
42</style>
more text
Each .location (from CMS or static elements) creates a [a-data-flow = This is Ali's]on the map. These markers are placed using the latitude (.lat) and longitude (.lon) values inside each .location
[co-.classname]
Here are all your attribute option:
[ag-0-d-This is a list with attributes made for you]
[ag-0-a-data-flow-11 = 111This is Ali's-is yek]
[ag-0-a-data-flow-22 = This is Ali's22]
Here are all your attribute option:
[ag-1-d-This is a list with attributes made for you]
[ag-1-a-data-flow-110 = 111This is Ali's]
[ag-1-a-data-flow-22 = This is Ali's22]
You can copy-paste this component directly into your Webflow project and style it however you want.
[ag-0-d-This is the description]
[ag-0-a-name = value]
[ag-0-a-name = value]- This is the description[li-a-name = value]Click to Copy[li-a-name = value]
- This is the description[li-a-name = value][li-a-name = value]
- This is the description[li-a-name = value][li-a-name = value]
Quick Setup:
You can copy-paste this component directly into your Webflow project and style it however you want.
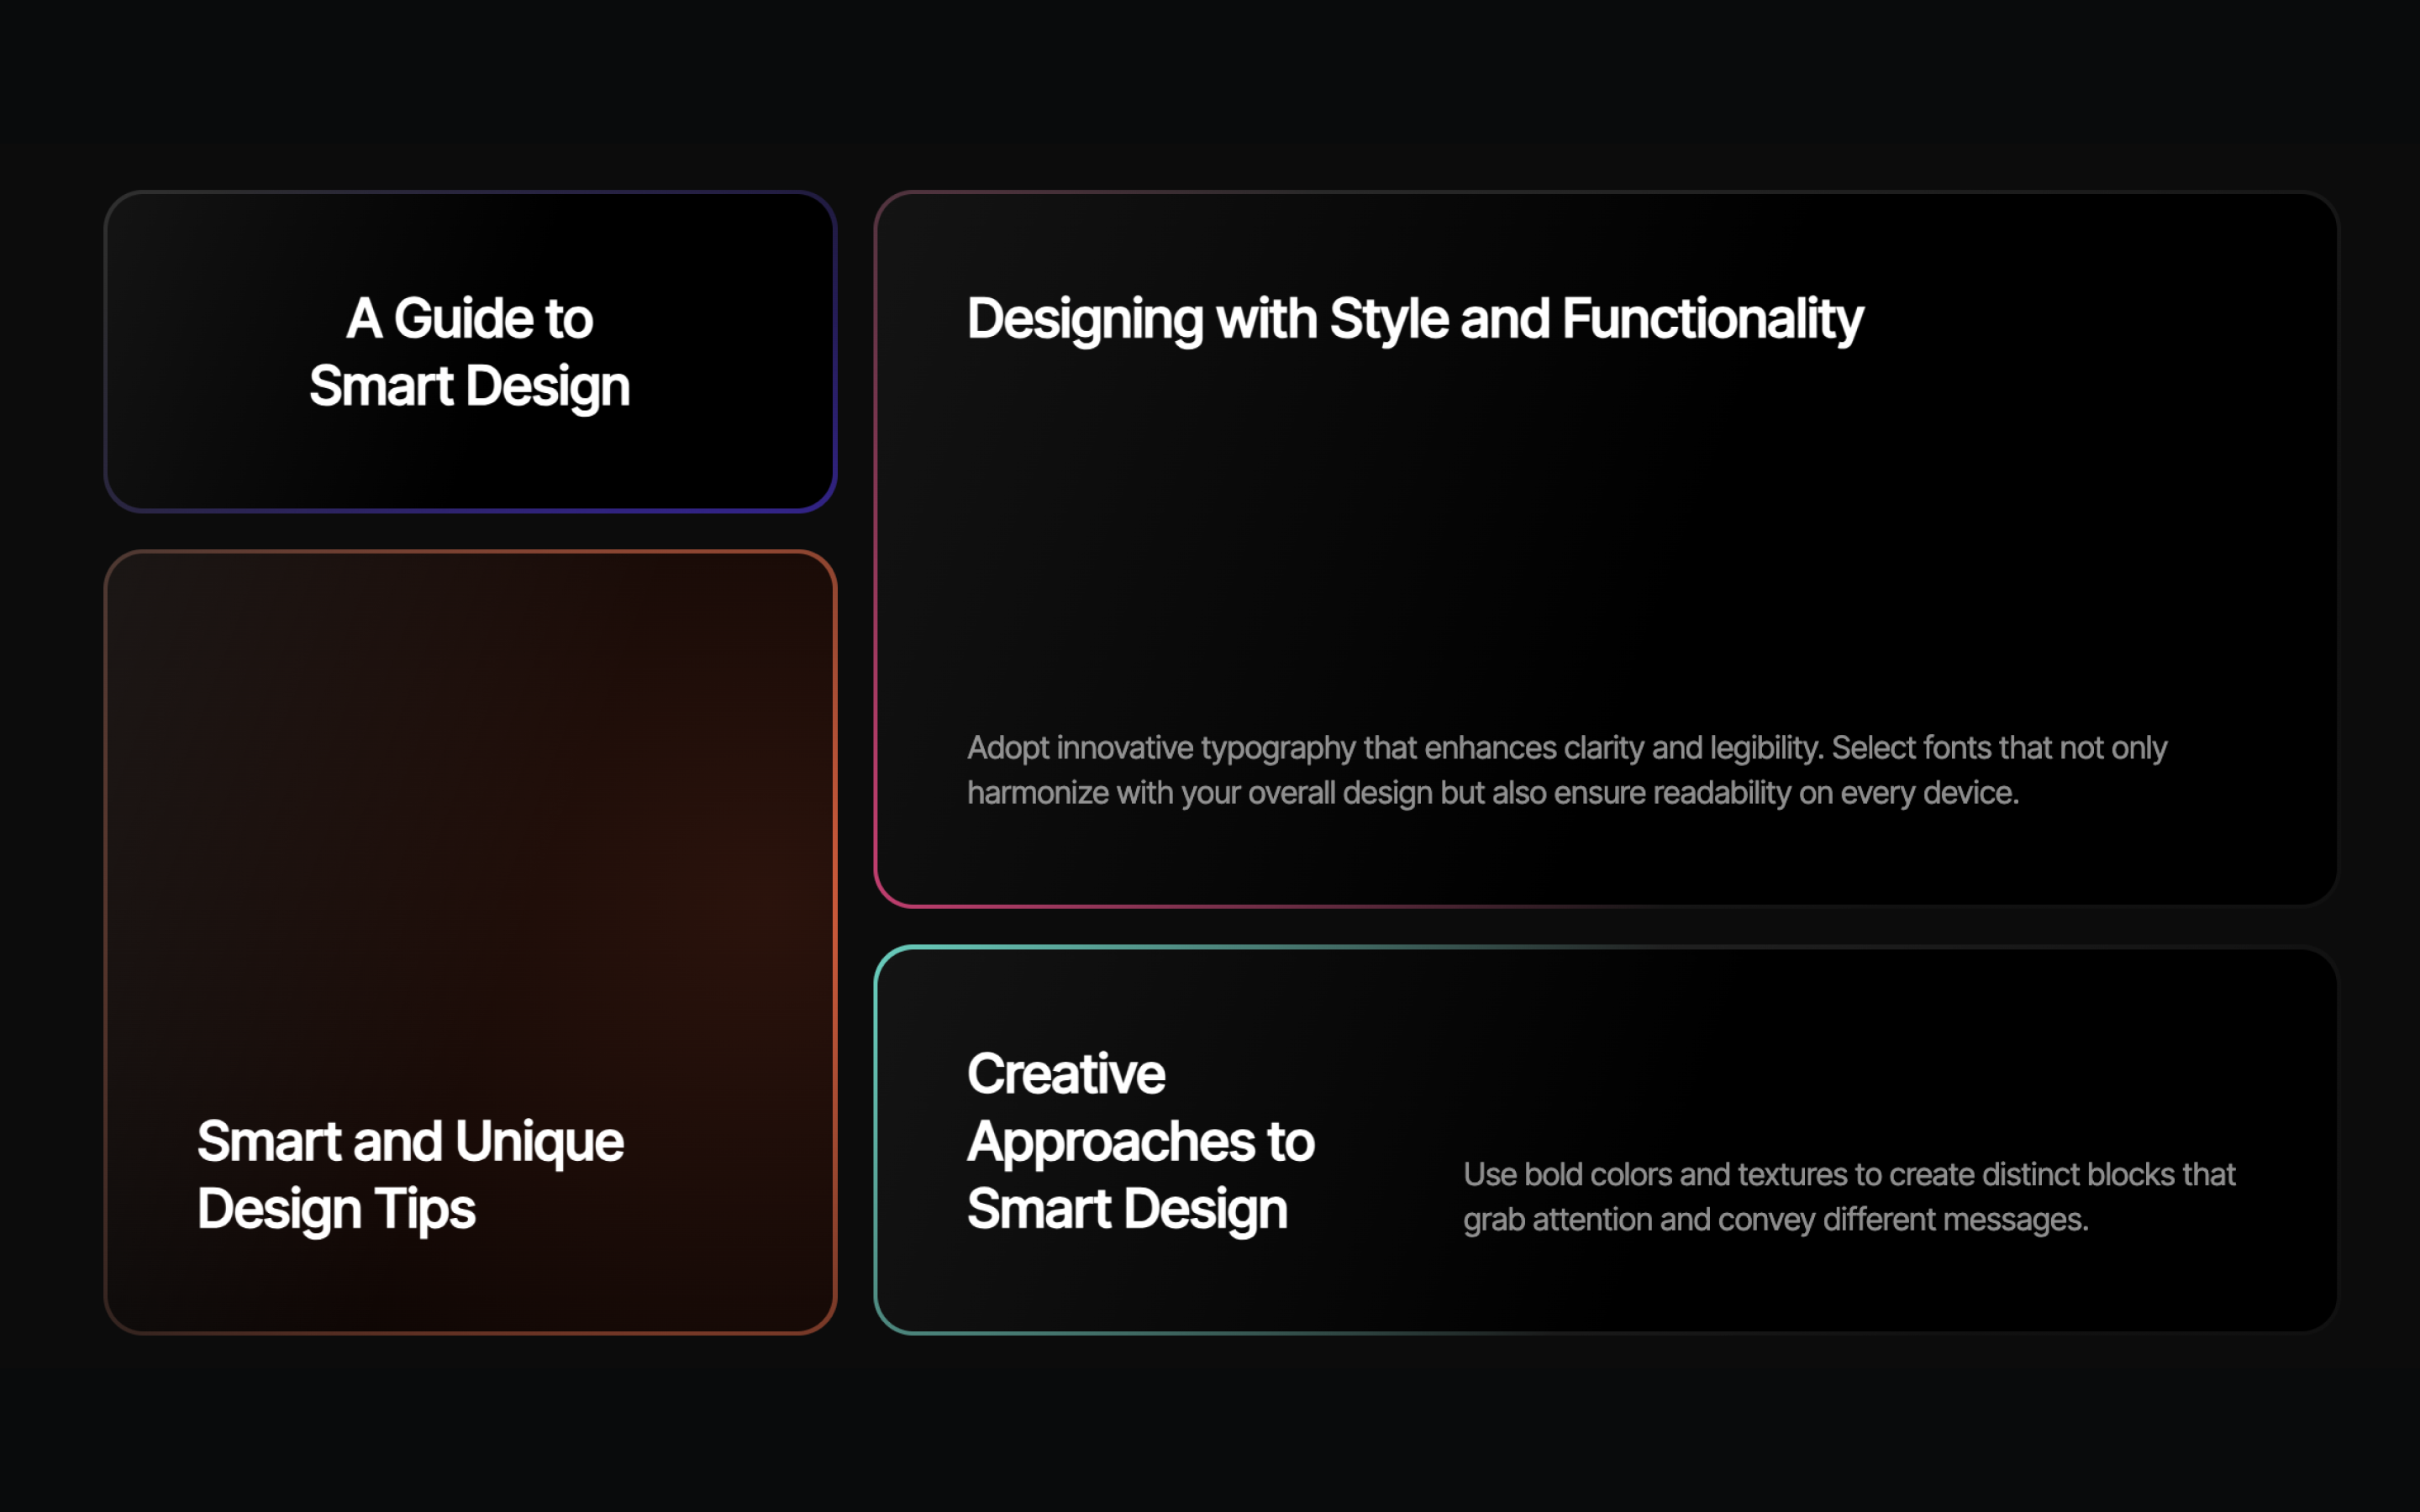
[c-Final - First Bento Grid]
Required Attributes:
- this is the head. should it be the first item or should it be the first heading before the list?
- data-flow = card: Defines the card element. The glow is inside this div.
- data-flow-color-border = #your-color: Sets the border glow color. Accepts CSS variables, functions, or static color values.
- data-flow-color-card = #your-color: Sets the inner glow color. Accepts CSS variables, functions, or static color values.
Optional Settings:
Use variables and the color-mix function. You can set the card’s inner glow to something like: [a-data-flow-color-card = "color-mix(in srgb, var(--pink) 20%, transparent)"]. Here we are using a color variable, which can be the same as the border [a-data-flow-color = "transparent)"] color, but set it to 20% opacity with the color-mix function.
In the code, there are two default values that you can change if you want.


