
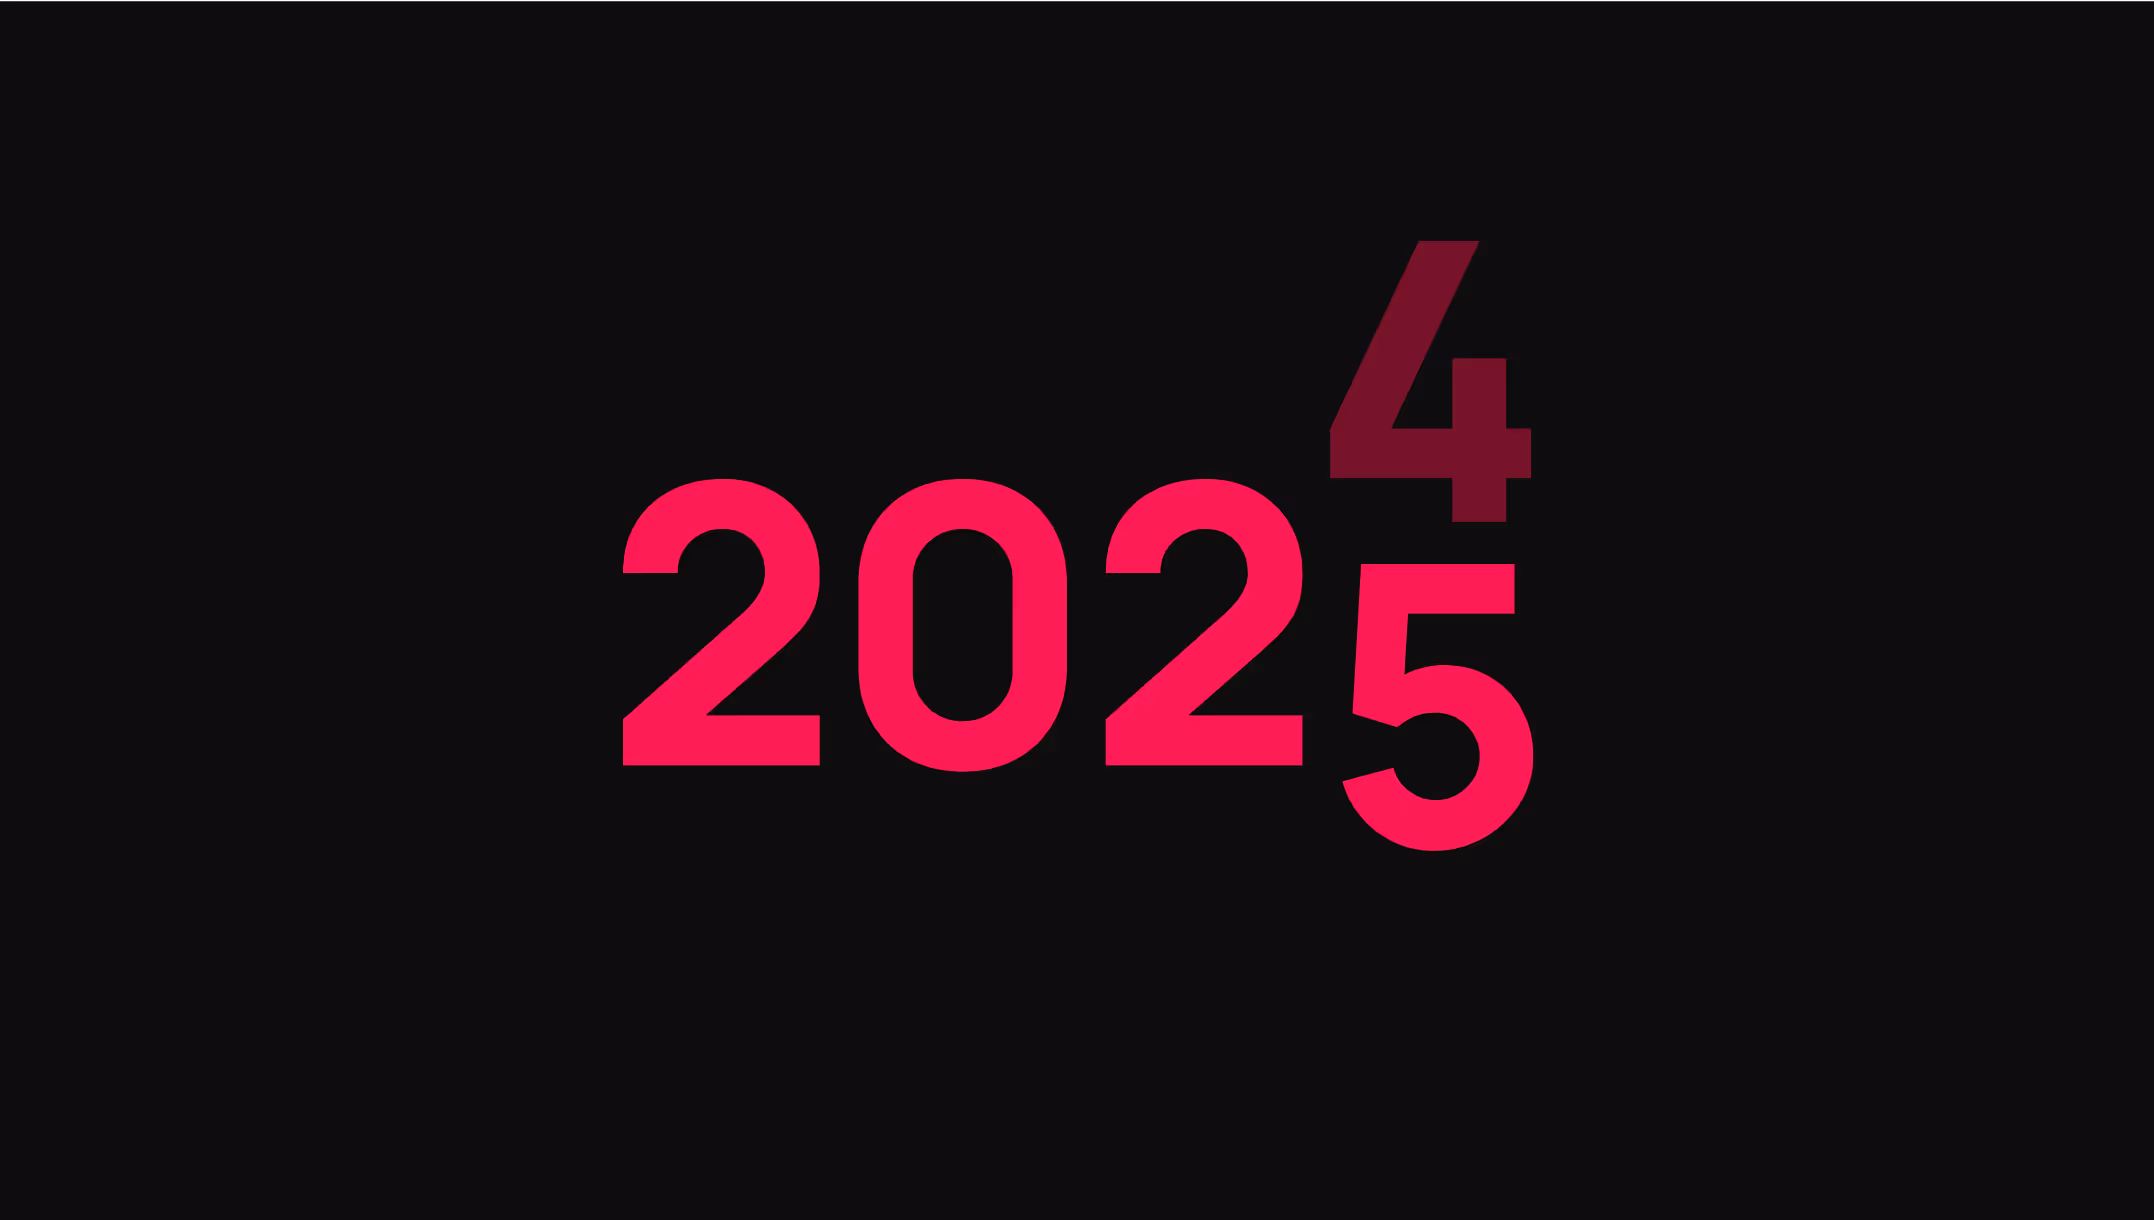
How to Auto-Update Your Footer Date in One Click? Copy 4g
You don’t need to manually update the year in your footer anymore. Simply copy and paste our year component into Webflow, press publish, and you’re set. Adjust the design and everything else however you like. We’ll show you two easy options:
Option 1: One-click copy-paste code and the year text
Option 2: Copy the code and select the year text yourself
---
Option 1: Copy and Paste in One Click
This component includes the "© 0000 Flowing.to. All rights reserved." text and the code needed to change the "0000" to the current year. You can customize the text entirely, but make sure the "0000" is wrapped in a attached to it in the settings.
---
Heading
- List item
- List item
- List item
- List item
---
Option 2: Add the Code to Your Webflow Project
Step 1: Open Project Settings or the Page Settings of the specific page you want to update in your Webflow project.
Step 2: In the Custom Code section, place the script below, before the closing
Step 3: Assign the text element you want to update automatically with the attribute
```
<!-- Flowing components - By Kabarza.com -->
<script>
document.addEventListener('DOMContentLoaded', () => {
// Find elements with the [flw-year] attribute
const yearTargets = document.querySelectorAll('[flw-year]');
// Get the current year
const currentYear = new Date().getFullYear();
// Update text content for each target element
yearTargets.forEach(target => {
target.textContent = currentYear;
});
});
</script>
```[js]
---
“Now, enjoy an up-to-date copyright text, with zero ongoing maintenance! And hey, this is just the start—we’re working on more components to make your Webflow life even easier. Keep an eye out!”

Dot Waves
Create mesmerizing wave patterns with colorful dots that flow across your website. Fully customizable colors, speed, and animation styles.

Webflow Localisation Anchor link fix
Fix anchor links on localized pages in Webflow. This drop-in script (1) detects secondary locales from the URL, (2) prefixes internal links that are missing the current locale, (3) preserves smooth scrolling for same-page #anchors, (4) skips language-switcher links via hreflang or data-flow-locale-skip, (5) avoids assets/external links, and (6) re-initializes Webflow IX2 after updates. Works from the <head> or “Before ”.
How to add a custom map to webflow with MapBox
This is how you can add a custom style map, connected to the CMS to your project

blur
aykut
ay


How to Auto-Update Your Footer Date in One Click? Copy 3
You don’t need to manually update the year in your footer anymore. Simply copy and paste our year component into Webflow ...

DONT REMOVE (EXAMPLE DATA)
You don’t need to manually update the year in your footer anymore. Simply copy and paste our year component into Webflow ...

Wavy 3D Blob Animation
A quick guide to embedding a dynamic 3D blob with Three.js and GSAP in Webflow—complete with copy‑to‑clipboard buttons for every code snippet.

Automatically Update Your Footer Date
You don’t need to manually update the year in your footer anymore. Simply copy and paste this component in your website

Template (do not delete)
You don’t need to manually update the year in your footer anymore. Simply copy and paste our year component into Webflow ...
You can copy-paste this component directly into your Webflow project and style it however you want.
[ag-0-d-This is the description]
[ag-0-a-name = value]
[ag-0-a-name = value]- This is the description[li-a-name = value]Click to Copy[li-a-name = value]
- This is the description[li-a-name = value][li-a-name = value]
- This is the description[li-a-name = value][li-a-name = value]
Quick Setup:
You can copy-paste this component directly into your Webflow project and style it however you want.
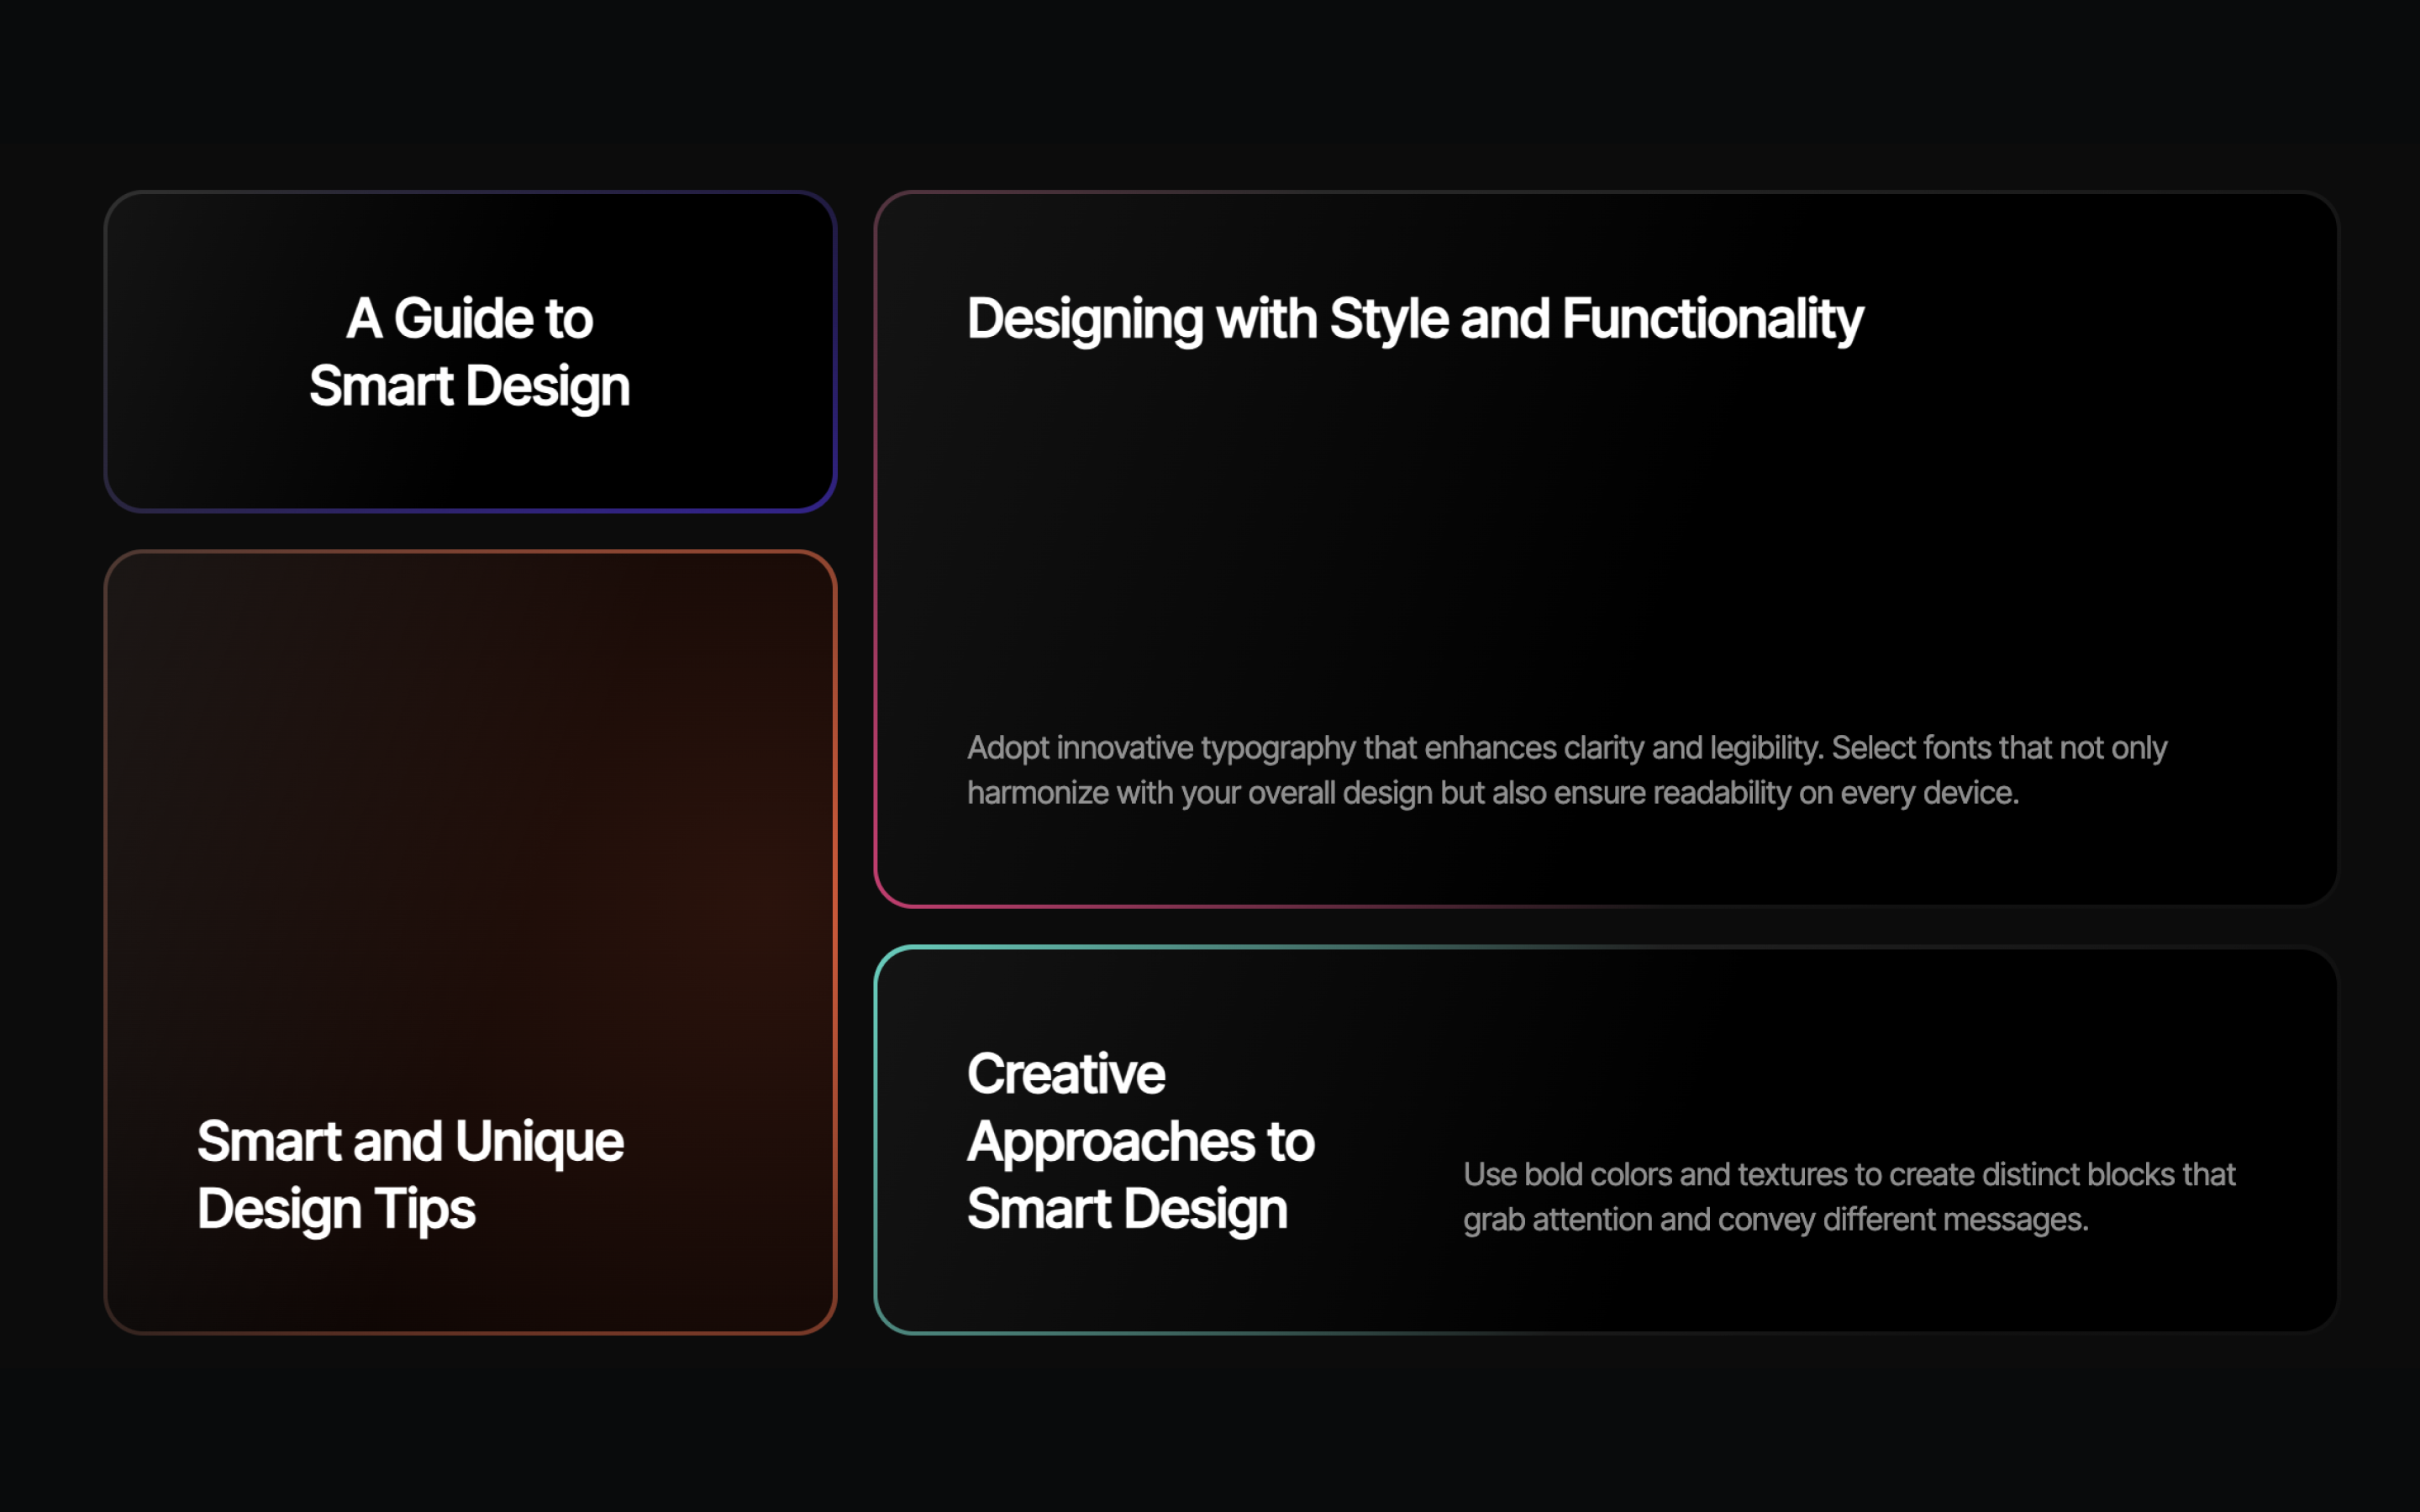
[c-Final - First Bento Grid]
Required Attributes:
- this is the head. should it be the first item or should it be the first heading before the list?
- data-flow = card: Defines the card element. The glow is inside this div.
- data-flow-color-border = #your-color: Sets the border glow color. Accepts CSS variables, functions, or static color values.
- data-flow-color-card = #your-color: Sets the inner glow color. Accepts CSS variables, functions, or static color values.
Optional Settings:
Use variables and the color-mix function. You can set the card’s inner glow to something like: [a-data-flow-color-card = "color-mix(in srgb, var(--pink) 20%, transparent)"]. Here we are using a color variable, which can be the same as the border [a-data-flow-color = "transparent)"] color, but set it to 20% opacity with the color-mix function.
In the code, there are two default values that you can change if you want.